Note:

These tutorials assume a basic working knowledge of Paint Shop Pro. If you are unsure how to configure the program to perform any of the steps described below, please refer to the Help files and manuals included with the program.

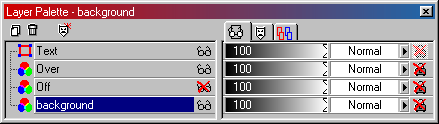
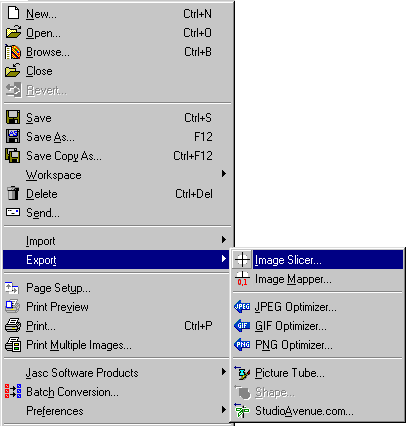
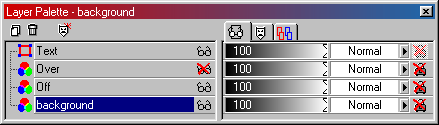
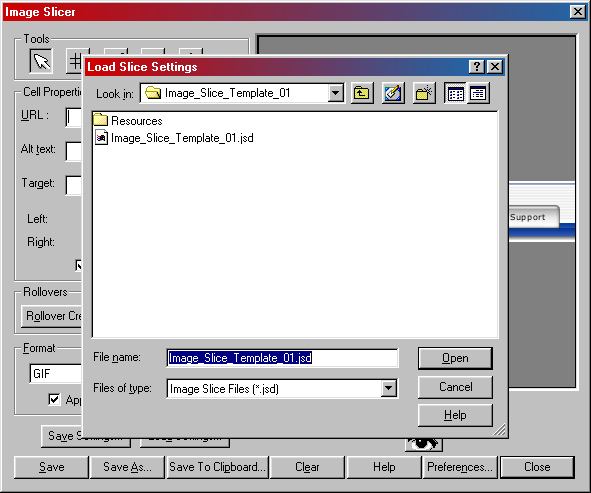
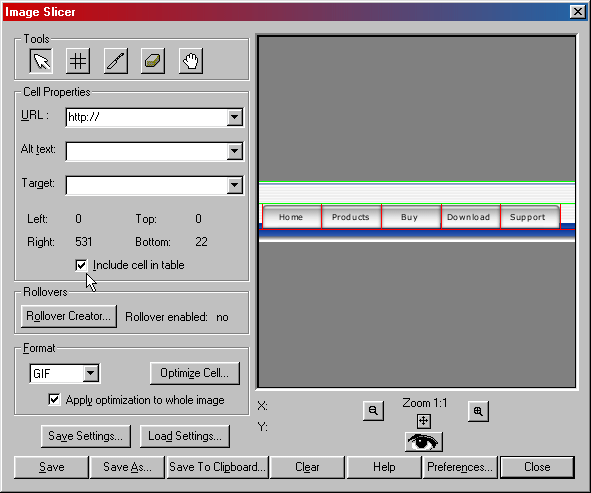
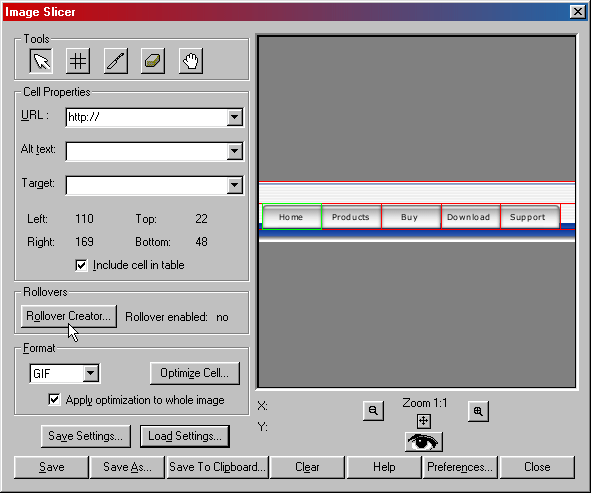
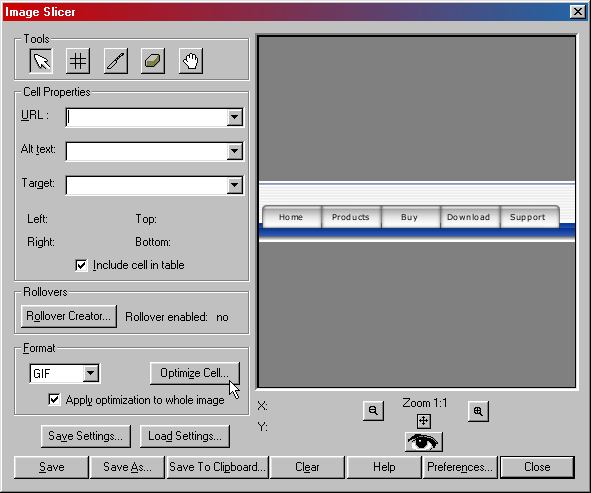
Before you begin image slicing with Paint Shop Pro, you will need to create your image. For this example, our image contains four layers. The first layer is the background (or full image) that you wish to slice; the second layer is what you want your off state to be; the next layer should be the over state while the last layer should be your text layer. The over and off layers can be swapped at your discretion.

You may also notice in some of the sample images, that it is not a requirement for the buttons and text to be in the same layer or file. For the images that are contained in different files, their necessary components have already been merged into a single image for your convenience. However, the first and last layers should always be in that order. Once you have created such an image (or selected one of the samples below) you can begin the slicing process.


Template 1               Template 2


We will be using Template 1 for this tutorial.


1) Only the Background, Over and Text layers should be visible.


2)Choose File > Export > Image Slicer from the drop-down menu.


3) For this example, we want to ensure that the "Prompt for image folder on Save and Save As" box is checked in our Preferences.


4) Now it's time to slice your image. Select the Slicer tool and draw the slices in your image.


5) After your lines are drawn, move them so they are tight against your buttons. The lines should not go into your buttons.


6) The next step requires you to enable ONLY the buttons. Disable the remaining cells in your image.


7) Optimize the cells in your image.


8) Once you have optimized your cells, save your settings by clicking on the Save Settings button.


9) After the settings are saved, you can save your HTML files and cells by clicking on the Save As button.


10) Close the Image Slicer.


11) The next step is to go back to the original image and turn on the visibility of the Background, Off, and Text layers, while making certain the Over layer is not visible.


12) Chose File > Export > Image Slicer.


13) Load the settings that you previously saved in Step 8.


14) Once the settings are loaded, enable ALL the slices in the image.


15) Now it's time to select where you want your mouse events to occur. You can do this by selecting the individual cells in your image and clicking on the Rollover Creator.


16) Once your mouse events have been defined, you will want to optimize the cells.


17) Click the Save As option to save your HTML file to disk.


18) You will now be prompted for a folder to place your images.


Copyright ©2000 Jasc Software, Inc. All Rights Reserved.
Webtools Homepage Templates Tutorials Index Webtools Homepage JASC Software Website (Must be connected to the internet) Image Mapper Templates Image Slicer Templates Image Mapping and Slicing Combined Image Mapper Image Slicer  Sample use of the Image Slicer