|
Note: These tutorials assume a basic working knowledge of Paint Shop Pro. If you are unsure how to configure the program to perform any of the steps described below, please refer to the Help files and manuals included with the program.This tutorial will teach you how to include JavaScript events within image maps. It is important to note that JavaScript events in Netscape 4 are not currently recognized within maps containing a link. This is simple to change. An href="#" will work.
|
|
Template 1 Template 2 |
|
In our sample, we will be working with Template 1 which is a single image with six different states.
Upon completion, this should work the same as a sliced image. However, instead of changing the
slices, we want to change the entire image or a large portion of it. In this example, a large part
changes. This tutorial requires a single image with six layers. You can have your text on a
seventh layer but it is not required. The first layer is your background or your starting state. We
will refer to it as the Background. The next is the state when the first button is moused over; we
will refer to it as Button 1. The next four layers will be called Button 2, Button 3, Button 4, and
Button 5, followed by our Text layer. |

|
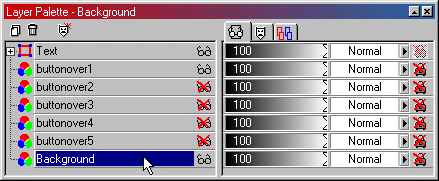
1) Turn on only the Button 1, Background and Text layers.
|
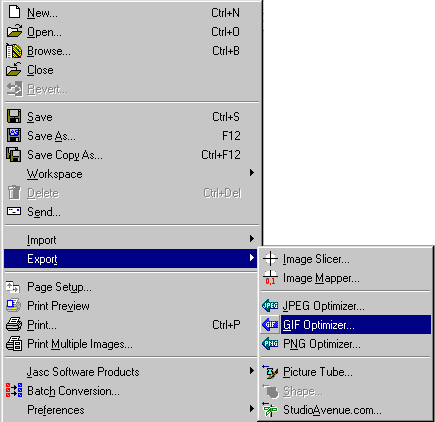
2) Now choose File > Export > Gif Optimizer.
|
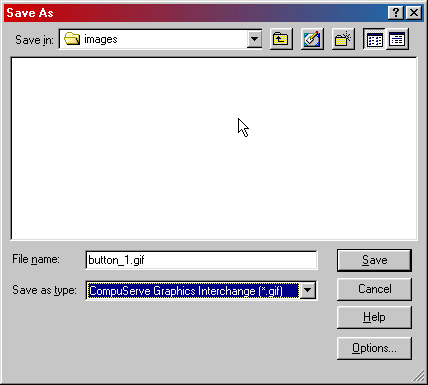
3) When you choose to save, select the location where you want the images for your HTML files to go.
Use a unique name to identify your files. For the example below, we started by using the name: button_1.gif.
|
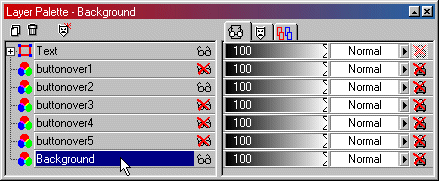
4) In the Layers Palette, turn off your current button and turn on the next one. Repeat these steps (from Step 2) until you have done this with all five buttons.
|
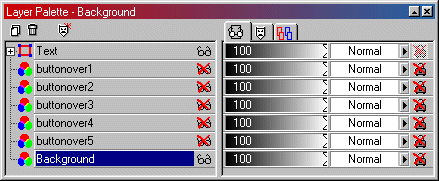
5) Now turn on the Background and Text layers only.
|
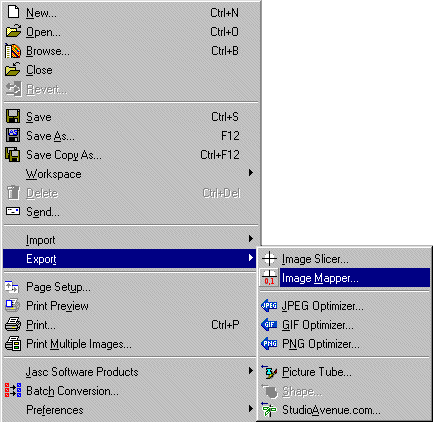
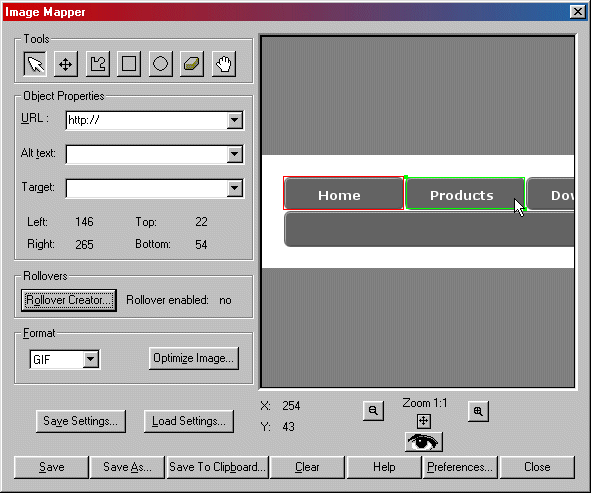
6) Choose File > Export > Image Mapper.
|
7) Using the Rectangle tool, draw around only the areas that you want to activate a change or become a link in your image.
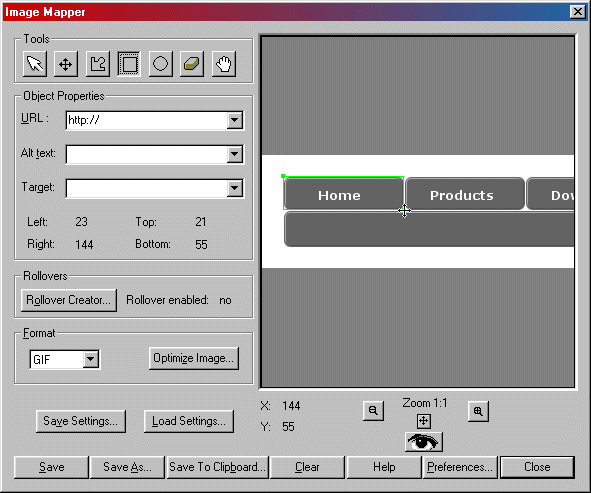
|
8) Now select an area that you created and click on the Rollover button.
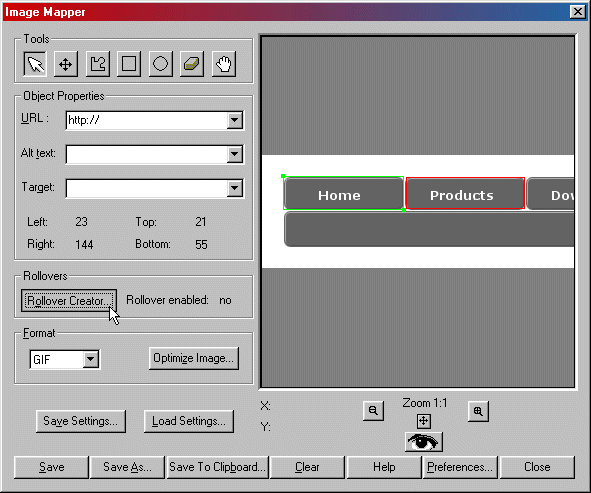
|
9) Inside the Rollover window, enable the MouseOver and MouseOut events.
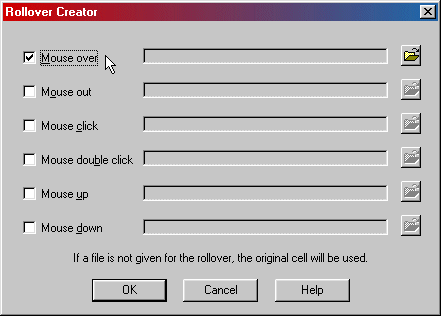
|
10) Click on the browse button for your MouseOver event and select the corresponding saved image that applies to that button. It is not necessary to browse for the MouseOut event as the current image will be used by default.
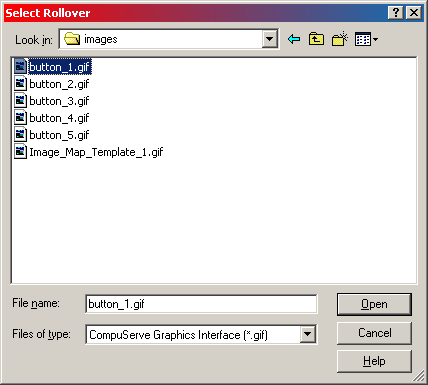
|
11) Once you OK the Rollover dialog, you will want to repeat (from Step 8) selecting the next area you want to assign an event.
|
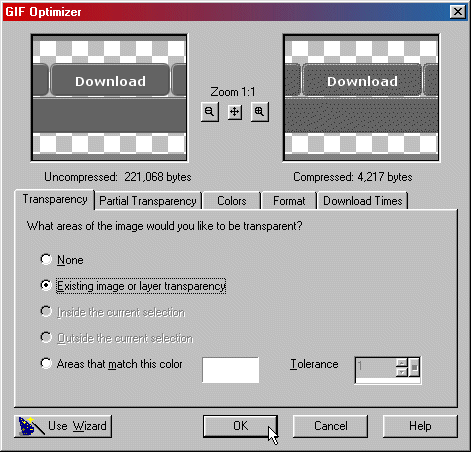
12) Optimize and save your map.
|


